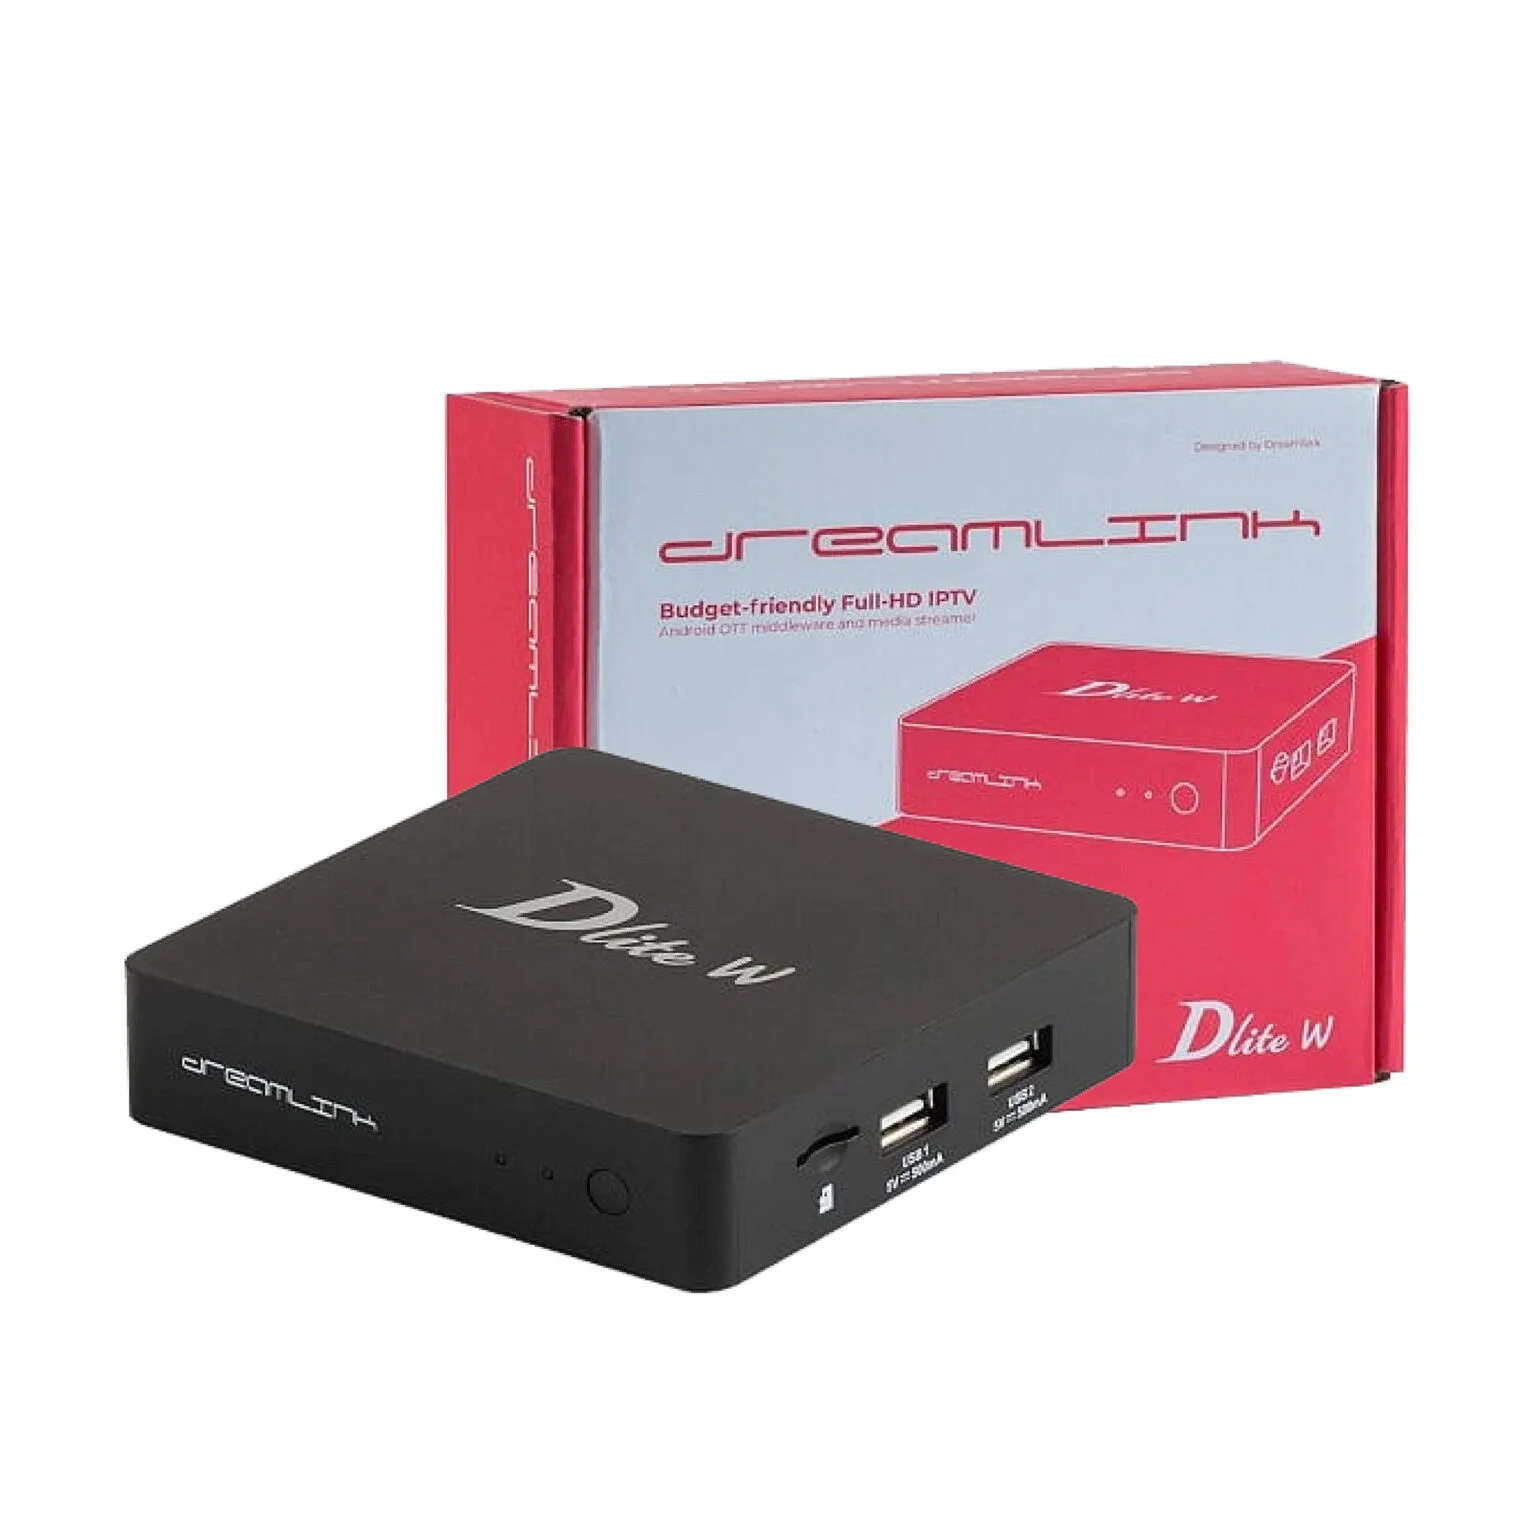
Step-by-Step Guide to Setup IPTV on Dreamlink
Hey there! So, you’ve got a Dreamlink Box and you’re ready to dive into the world of IPTV—awesome choice! Setting it up is pretty easy once you get the hang of it, and I’m here to guide you through every step. We’ll grab your MAC Address, sign up for a service, get it all loaded onto your box, and have you streaming in no time. Let’s do this!
1: Find Your MAC Address (It’s Easier Than It Sounds!)
First things first, to Setup IPTV on Dreamlink we need to track down your Dreamlink Box’s MAC Address—it’s like the secret handshake your IPTV provider needs to recognize your device. Here’s how to snag it:
-
Turn It On and Chill: Plug in your Dreamlink Box and let it boot up. It might take a minute, so grab a snack or something while it does its thing.
-
Updates? Sure, Why Not: If it pops up with a “Hey, wanna update?” message, go for it. Updates keep your box happy and running smoothly, so just follow the prompts if they show up.
-
Head to the Server Menu: Once it’s done booting, you’ll probably land in the Server Menu—the spot where you’ll eventually plug in your IPTV details. You’re not there yet, though!
-
Bounce to the Main Screen: Hit the Exit button on your remote (you know, the one that looks like it’s ready to peace out). A little “OK?” box might pop up—just hit OK and roll with it.
-
Welcome to Dreamlink Online: Boom, you’re now on the Dreamlink Online (DOL) screen—it’s like the home base for your box. Look up at the top right corner, and there it is: your MAC Address. It’ll look something like 00:1A:79:XX:XX:XX.
-
Jot It Down: Grab a pen or snap a pic with your phone. Trust me, you don’t want to mess this part up—it’s your ticket to IPTV land!
Quick Heads-Up: You’ll need this MAC Address when you sign up for your service, so keep it handy. I’ve totally typo’d mine before, and it’s a hassle to fix later!
2: Sign Up for IPTV (Time to Pick Your Poison!)
Alright, to Setup IPTV on Dreamlink your MAC Address in hand—now let’s get you hooked up with an IPTV service. I’ll use oriaan as an example since it’s a solid option. Here’s the play-by-play:
-
Hit the Website: Fire up your phone, laptop, whatever, and head to oriaan.com (double-check the URL so you don’t end up on some sketchy knockoff site).
-
Pick a Plan: Scroll through their subscription options. They’ve got monthly stuff, longer deals, maybe some fancy channel packages—whatever vibe you’re feeling, pick one that works for you. I’m a sucker for the “everything plus movies” kind of plan, but you do you!
-
Drop That MAC Address: When you’re signing up, they’ll ask for your Dreamlink’s MAC Address. Paste it in there exactly as you saw it—colons, caps, all of it. No pressure, but get this right!
-
Pay Up and Chill: Finish the order by tossing in your payment info (credit card, PayPal, whatever they take). Double-check your details—I’ve fat-fingered my card number before, and it’s a whole thing to fix.
-
Wait for the Magic Email: Once you hit submit, oriaan will send you a Portal URL in an email. It might take a couple of hours (or a little longer if they’re swamped), so don’t stress. Check your inbox, and peek in spam if it’s hiding.
Little Tip: While you’re waiting, keep your Dreamlink Box plugged in and online. Some providers do a sneaky little check to make sure it’s ready to go.
3: Setup IPTV on Dreamlink (The Fun Part!)
Okay, you’ve got your Portal URL—time to bring this baby to life! Here’s how to get your Dreamlink Box talking to oriaan:
-
Hop into Settings: From the Dreamlink Online screen, scoot over to Settings with your remote. It’s usually a little gear icon or something obvious like that.
-
Green Button Time: In the settings, find the IPTV or server section and hit the Green Button on your remote (might be labeled “F2” or just green—Dreamlink keeps it funky). That’ll pull up the Edit screen where the magic happens.
-
Fill in the Blanks:
-
Portal Name: Pop in something simple like “oriaan.” It’s just a nickname so you know what’s what—call it “TV Heaven” if you’re feeling extra.
-
Portal URL: Type in that Portal URL from your email. Go slow—typos here are the enemy. I’ve totally botched this step and had to redo it, so take your time!
-
-
Save It: Hit OK or Save (whatever your box says). It might ask “You sure?”—just say yes and keep rolling.
-
Reboot and Relax: Restart your Dreamlink Box to lock it all in. You can usually find a Restart option in settings, or just unplug it for 10 seconds and plug it back in. Let it do its reboot dance.
If It’s Being Weird: If nothing loads after the restart, peek at that Portal URL again. One misplaced letter and it’s game over. Worst case, ping oriaan support—they’re usually cool about helping.
4: Kick Back and Enjoy (You’ve Earned It!)
You did it! Your Dreamlink Box is now an IPTV powerhouse. Here’s what’s next:
-
Watch It Come Alive: After the reboot, your box should connect to oriaan and load up all the good stuff—live channels, movies, shows, you name it. It’s like Christmas morning!
-
Poke Around: Play with the remote a bit—flip through channels, check out the VOD section, maybe mark some favorites. It’s your playground now.
-
Stream Like a Champ: Sit back and enjoy. Whether it’s live sports, a cheesy rom-com, or some random international channel you’ve never heard of, it’s all there for you.
Pro Move: For silky-smooth streaming, make sure your internet’s solid (15–20 Mbps is the sweet spot for HD). Oh, and if you can, plug in an Ethernet cable instead of Wi-Fi—way less lag.
Wrap-Up (You’re a Rockstar!)
And that’s it—you’re officially an IPTV pro! If something glitches (blank screen, channels not showing), just retrace your steps: check the MAC Address, retype the Portal URL, or give your box another reboot. Still stuck? oriaan support’s got your back. Now go enjoy your endless TV options—I’m a little jealous of all the binge-watching you’re about to do!